

To connect a .co.nz domain to Shopify, access your third-party domain registrar’s DNS settings. Change the A Record to point to Shopify’s IP address (23.227.38.65) and update the CNAME record for ‘www’ to point to shops.myshopify.com. Finally, verify the connection within your Shopify admin dashboard.
The Challenge of Connecting Local Domains to Global CMS
In the landscape of New Zealand digital asset management, securing a .co.nz domain is the first step toward establishing local authority. It signals to search engines like Google NZ that your business is relevant to the local market, fostering trust with Kiwi consumers. However, a common technical hurdle arises when bridging these local assets with global Content Management Systems (CMS) like Shopify or Wix.
Unlike purchasing a domain directly through Shopify, which automatically configures the Domain Name System (DNS), buying a domain from local registrars—such as 1st Domains, Crazy Domains, or Freeparking—requires manual configuration. This separation of duties (domain registrar vs. website host) is a standard best practice in digital brokerage to ensure asset independence, but it demands a precise technical setup to function correctly.

The core of the challenge lies in the DNS records. These records act as the GPS for the internet, telling browsers where to find the website content associated with your domain name. If these coordinates are off by even a single digit, your digital storefront remains invisible. Understanding the nuance of A Records and CNAMEs is essential for any NZ business owner looking to maintain control over their digital infrastructure while leveraging the power of global e-commerce platforms.
Step-by-Step Guide: How to Connect .co.nz Domain to Shopify
Connecting your New Zealand domain to Shopify involves “pointing” the domain rather than transferring it. This method is preferred as it keeps your domain ownership with your specific registrar (allowing for local support) while your site is hosted on Shopify’s servers. Follow this precise protocol to ensure zero downtime or connectivity issues.
1. Retrieve Shopify’s Required DNS Values
Before logging into your registrar, you must know what coordinates you are aiming for. Shopify uses two specific records to direct traffic:
- The A Record: This points your root domain (e.g., yourbusiness.co.nz) to Shopify’s IP address. The required IP is 23.227.38.65.
- The CNAME Record: This points your subdomain (e.g., www.yourbusiness.co.nz) to Shopify’s hosted domain. The required target is shops.myshopify.com.
2. Access Your NZ Registrar’s DNS Manager
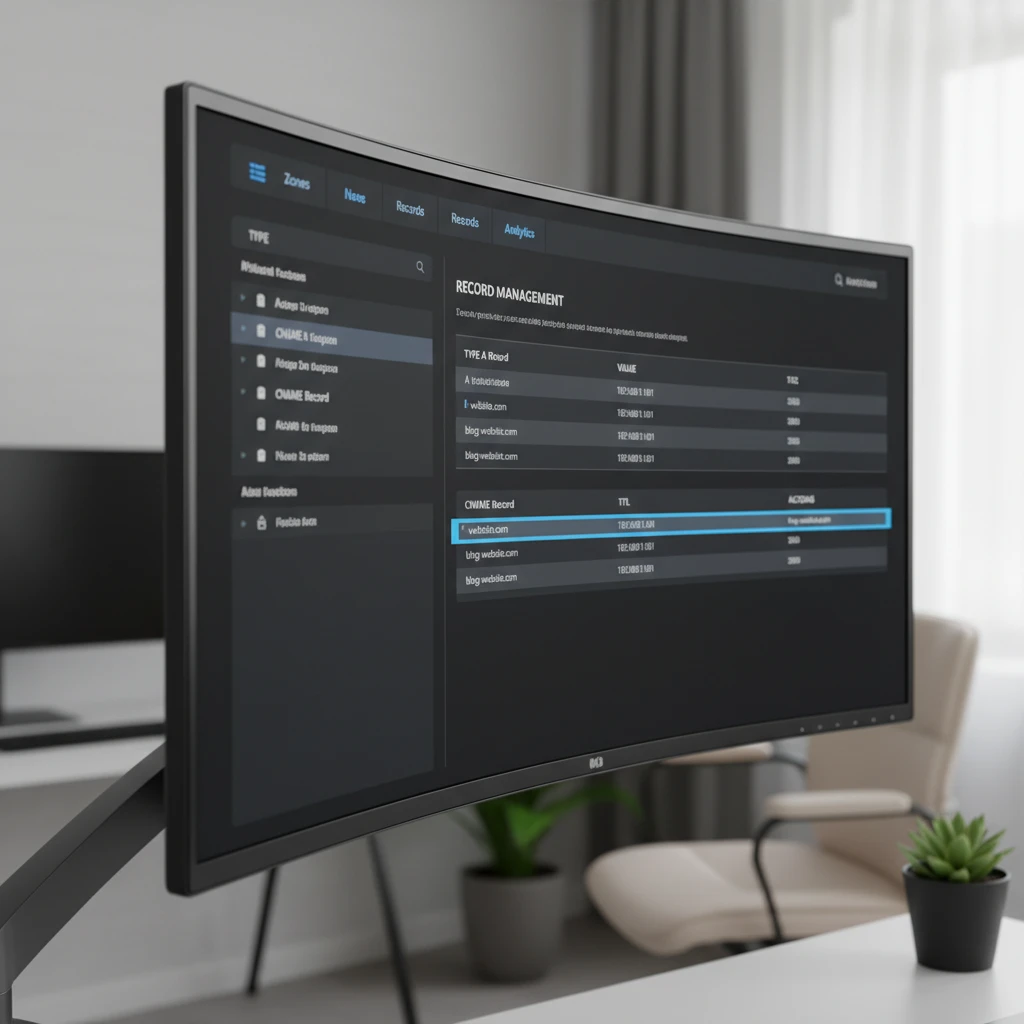
Log in to the account where you purchased your domain. This could be GoDaddy, SiteHost, Domainz, or similar. Look for a section labeled “DNS Management,” “Zone Editor,” or “Advanced DNS.” If you are unable to locate this, you may need to contact your registrar’s support to unlock advanced editing capabilities.
3. Update the A Record
Locate the existing A record for your root domain. It is often denoted by an “@” symbol or simply left blank in the host field. If an A record already exists, you must edit it. If not, create a new one.
- Type: A
- Host/Name: @ (or leave blank depending on the registrar)
- Points to/Value: 23.227.38.65
- TTL: 3600 (or 1 hour/default)
Warning: Do not have multiple A records for the root domain. If there are old IP addresses listed, delete them. Conflicting A records will cause the site to flicker between the old and new server.
4. Update the CNAME Record
Next, you must handle the “www” version of your site. This ensures that users typing “www.yourbusiness.co.nz” land on the same store.
- Type: CNAME
- Host/Name: www
- Points to/Value: shops.myshopify.com
5. Verify in Shopify Admin
Once the technical settings are saved at your registrar, return to your Shopify dashboard:
- Go to Settings > Domains.
- Click Connect existing domain.
- Enter your domain name (e.g., yourbusiness.co.nz) and click Next.
- Click Verify connection.
If the records have begun to propagate, Shopify will confirm the connection. If it fails immediately, do not panic; propagation can take time.
Guide for Wix Integration in NZ
While Shopify is the giant of e-commerce, many New Zealand service businesses utilize Wix. The process is similar but utilizes different target values. Wix offers two connection methods: Name Servers (recommended by Wix) and Pointing (recommended for advanced users wanting to keep email hosting separate).
Connecting via Pointing (Keeping Email Safe)
For most businesses with established email accounts (like Office 365 or Google Workspace) attached to their .co.nz domain, “Pointing” is the safer method to avoid disrupting email service.
- Login to Wix: Go to Settings > Domains > Connect a domain you already own.
- Select Connection Method: Choose “Pointing” (you may need to click “Switch to pointing method” in the advanced settings).
- Get the Records: Wix will provide a specific IP address and CNAME. Unlike Shopify’s universal IP, Wix often rotates IPs, so you must use the one displayed in your dashboard.
- Update Registrar: Similar to the Shopify process, update the A record to the Wix IP and the CNAME (www) to the value provided (usually pointing.wixdns.net).
Understanding DNS Propagation Times in New Zealand
One of the most frustrating aspects of technical domain support is the waiting game known as DNS propagation. After you update your records, the changes do not happen instantly across the globe.
What is Propagation?
DNS propagation is the time it takes for the updated domain information to spread across the internet’s network of servers. Internet Service Providers (ISPs) in New Zealand (like Spark, One NZ, and 2degrees) cache DNS data to speed up web browsing. This means they “remember” the old location of your website for a set period.

The 48-Hour Rule
While changes often take effect within 1 to 4 hours, the global standard allowance is up to 48 hours. During this window, your website might load the new Shopify store on your mobile (using 4G) but still show the old site on your office Wi-Fi. This is normal.
The Role of TTL (Time To Live)
You can influence this speed using the TTL setting in your DNS records. TTL stands for “Time To Live” and represents the number of seconds a server should cache the information. A TTL of 3600 means one hour. If you plan a migration, lower your TTL to 300 (5 minutes) a day before the switch to ensure faster propagation, then raise it back up after the move is successful.
Troubleshooting Common Connection Errors
Even with a perfect setup, errors can occur. In the NZ digital asset management space, we frequently encounter specific issues when finalizing CMS integrations.
1. “SSL Pending” Status
The Issue: After connecting your domain to Shopify, the status reads “SSL Pending” for longer than 24 hours, and visitors see a security warning.
The Fix: This usually resolves itself within 48 hours as Shopify generates the Let’s Encrypt certificate. However, if it persists, check your A Records. If you have more than one A Record, the SSL generation will fail. Delete all A records except the one pointing to 23.227.38.65.
2. “Domain Not Connected” or “Needs Attention”
The Issue: Shopify verifies the domain but claims the settings are wrong.
The Fix: This is often a CNAME issue. Ensure your CNAME host is set to “www” and not the full domain name. Some registrars automatically append the domain, so if you type “www.yourbusiness.co.nz” as the host, the system reads it as “www.yourbusiness.co.nz.yourbusiness.co.nz”. Stick to just “www”.

3. Email Stops Working
The Issue: The website works, but your business emails are bouncing.
The Fix: This happens if you changed your Name Servers instead of pointing via A/CNAME records. If you change Name Servers to Shopify or Wix, you effectively delete your MX (Mail Exchange) records. You must log in to the new host (Shopify/Wix) and manually add your MX records back in to restore email functionality.
4. CAA Record Conflicts
The Issue: A rare but technical issue where the Certificate Authority Authorization (CAA) records block the SSL from being issued.
The Fix: If you have CAA records configured, ensure they allow ‘letsencrypt.org’ and ‘digicert.com’ to issue certificates. If you are unsure, removing the CAA records temporarily can resolve the blockage.
People Also Ask
How long does it take for a .co.nz domain to connect to Shopify?
While Shopify can verify the connection instantly, full global propagation for a .co.nz domain typically takes between 2 to 24 hours. In rare cases, depending on local ISP caching in New Zealand, it can take up to 48 hours.
Can I transfer my .co.nz domain directly to Shopify?
Yes, Shopify supports the transfer of .co.nz domains. However, you must have owned the domain for at least 60 days, and you will need an EPP/Auth code from your current registrar to initiate the transfer.
What is the difference between pointing and transferring a domain?
Transferring moves the actual management and billing of the domain to Shopify. Pointing keeps the domain with your current registrar (like Crazy Domains) but directs the traffic to Shopify. Pointing is often faster and safer for email retention.
Why is my Shopify store showing an insecure connection warning?
This indicates the SSL certificate has not yet propagated. This is standard for the first 24 hours after connection. If it persists, check that you do not have conflicting A records in your DNS settings.
Do I need to buy email hosting from Shopify?
No, Shopify does not provide email hosting. If you connect your domain to Shopify, you should continue using your third-party email provider (like Google Workspace or Microsoft 365) by ensuring your MX records remain intact.
Is the Shopify IP address the same for all NZ stores?
Yes, the required A Record IP address for Shopify is 23.227.38.65. This is a universal IP used for all Shopify stores regardless of their geographic location.
